Tuesday, October 15, 2013
Saturday, October 12, 2013
Trip to The Ribbonerie
After my trip to The Ribbonerie in San Francisco, it only made sense to immediately start a project! Here's my little tutorial on how to make a cute pin from some ribbon scraps.
1. Get some pretty ribbon scraps, a safety pin, and a lapel pin. It works best if you use wired ribbon and if you cut them with pinking shears.
2. Fold the ribbon scraps almost in half over the stationary side of the safety pin, staggering them at different lengths, so you can see a little of each ribbon peek through at the bottom.
3. Add a cute lapel pin. This pin will hold all the ribbon together.
4. Ready to wear!
Monday, October 07, 2013
Map option on http://www.charsstars.com/
A MAP!!!
http://www.charsstars.com/
My husband was nice enough to create a website for me. There's lots of things that need to be updated, but it looks SUPER cool. Especially the map option!
For those who have bought an art-o-mat piece from me, I would love to see you added to my map! Go to the above website, and click on mapbook, then add yourself to the map!
So exciting!
Friday, September 27, 2013
Tuesday, September 24, 2013
Saturday, September 21, 2013
being creative everyday
So I've been thinking about doing something like this for a while now, but haven't gotten around to actually doing it. However, as my life gets busier, I feel the need to make sure I spend at least 30 minutes a day being creative. Also, I seem to take lots of photos of things I make, but then never DO anything with it. So here's to the possibility of making something everyday for the next month or so! :)
Monday, September 16, 2013
Thursday, September 12, 2013
Wednesday, September 04, 2013
Etsy site
It has been on a long hiatus, but I have reopened my etsy site, and I will be slowly adding new pieces. Other than my wooden and clay necklaces, I will have lots of other goodies in there! Come check out my shop at:
http://www.etsy.com/shop/charng
Art-O-Mat!
So I've gotten the news that my art has already been sent off to machines! I'm so excited! If you've come to this page because you bought a necklace, please do leave a comment so I know where my necklaces have made a home!
Friday, August 30, 2013
Saturday, August 17, 2013
Wednesday, July 24, 2013
Monday, July 15, 2013
wooden jewelry fun
While visiting a friend in D.C., I came across an interesting site at the National Portrait Gallery: An Art-O-Mat. Most of the machine was out of art, but after my trip, I convinced my husband to go to the Crocker Art Museum in Sacramento, and I picked up my own piece of art there. At the time it was the closest Art-O-Mat to us (we live in Oakland). Now they are popping up all over San Francisco, which is great!
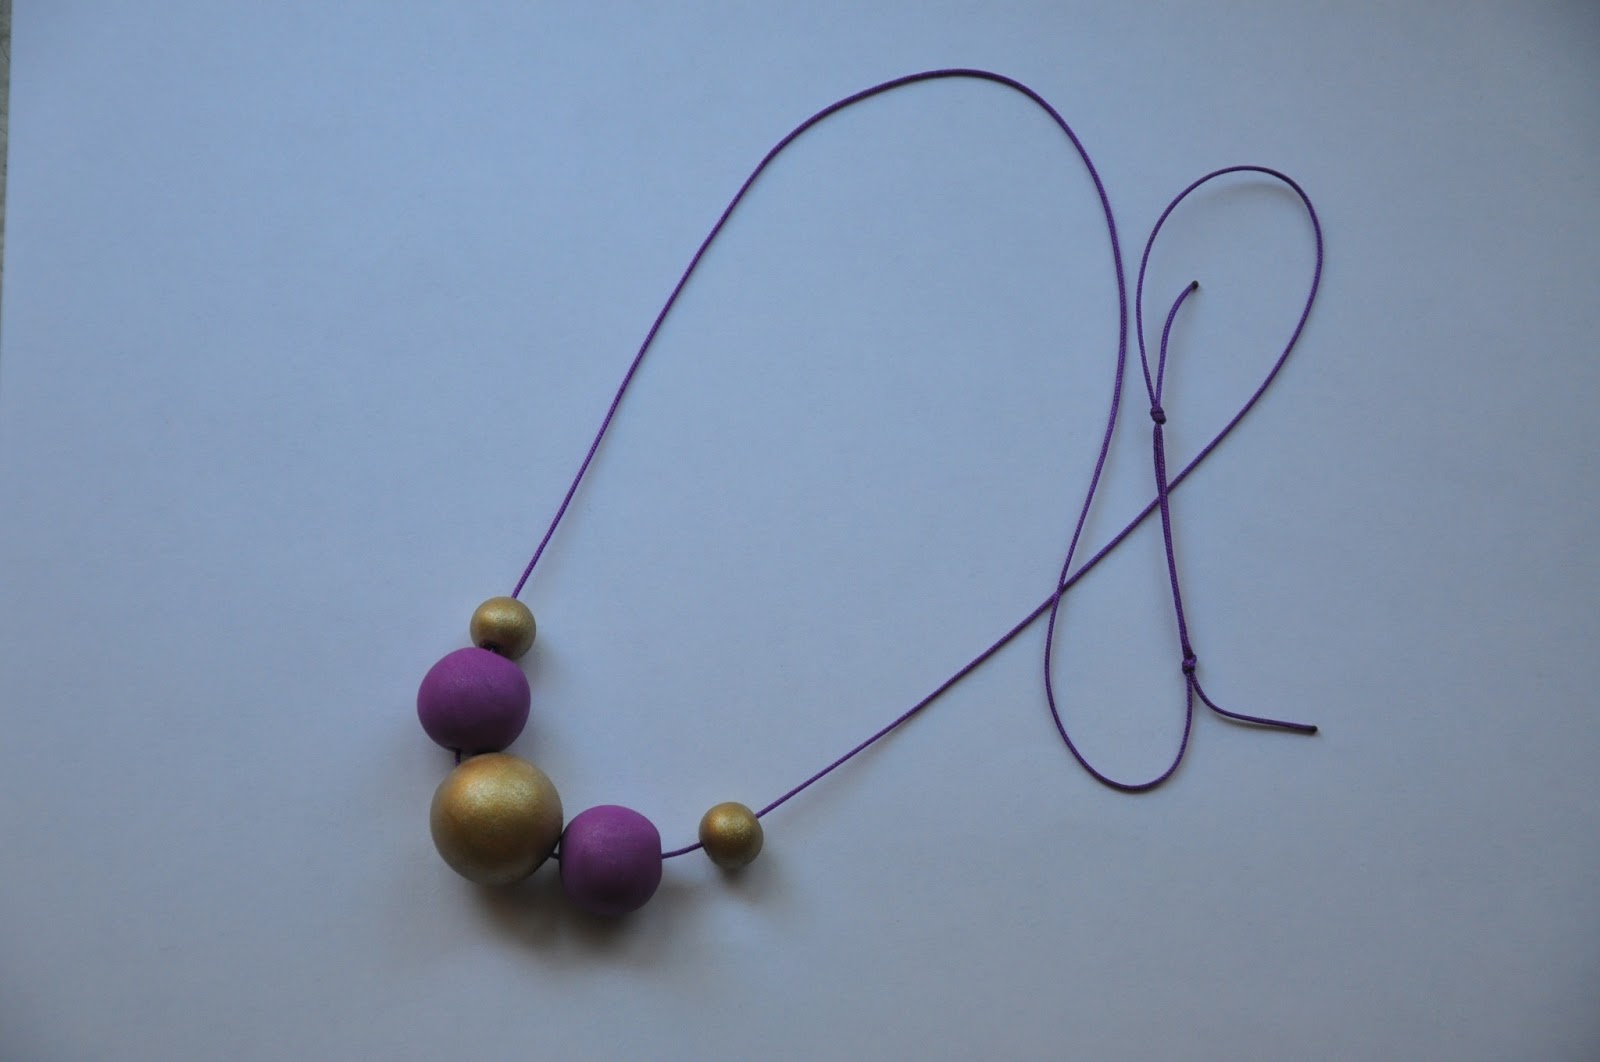
Since seeing my first Art-O-Mat, I've been trying to come up with unique pieces that would work for the vending machines. I think I've come up with something I really enjoy making, and on Friday I mailed off my own prototype! I'm pretty excited and hope I am accepted. Here are some of the pieces I've made. They are all necklaces, and the common theme right now is hand-painted wooden beads. I hope to send them all off to an Art-O-Mat near you! :)
Thursday, June 20, 2013
6/20 Back from RTW trip
RTW: Australia and Japan
On our RTW trip, I collected craft materials along the way. After getting back from our RTW trip, I started on some creative projects right away! Here is what I made with the beads I got from Australia:
In Japan, we walked a really cool outdoor market and found some cool artists, including a potter that made some very intricate pieces. I bought some of his beads, and made this necklace:
I also caught up on my newsfeed, and made this piece inspired by a diy on-line. From this start, I came up with my own take on the wooden beaded necklace for my art-o-mat pieces (see later posts).
Thursday, March 14, 2013
Saturday, February 02, 2013
Wednesday, September 26, 2012
Wool felt bag tutorial
After presenting the third chapter of my dissertation at Ecolunch, I gathered together all the materials for my new bag idea. It is a smaller version of one that we saw at a street fair, and I have had the German wool waiting for a special project since we went to Munich last year.

The materials:
3 mm wool felt
matching thread
bag handles
canvas
fabric
rivets
zipper
boning
1. Cut out pieces: 1 wool felt, 2 fabric rectangles (pocket), 1 canvas rectangle (bottom).
2. Sew the canvas bottom to the wool piece. Make sure to fold the edges under while sewing.
3. Sew pocket pieces together, and then sew pocket into bag.
4. Sew in zipper.
5. Sew up the sides.
6. Sew in the boning.
7. Sew up the bottom corners.
8. Cut the bottom edges to angle them, so the bag sits well.
9. Sew in the handles.
10. Add the rivets where you feel necessary.
The materials:
3 mm wool felt
matching thread
bag handles
canvas
fabric
rivets
zipper
boning
2. Sew the canvas bottom to the wool piece. Make sure to fold the edges under while sewing.
3. Sew pocket pieces together, and then sew pocket into bag.
4. Sew in zipper.
5. Sew up the sides.
6. Sew in the boning.
7. Sew up the bottom corners.
8. Cut the bottom edges to angle them, so the bag sits well.
9. Sew in the handles.
10. Add the rivets where you feel necessary.
Friday, May 04, 2012
3KCBWDAY6
Improving Your Skillset
How far down the road to learning your craft do you believe yourself to be? Are you comfortable with what you know or are you always striving to learn new skills and add to your knowledge base? Take a look at a few knitting or crochet books and have a look at some of the skills mentioned in the patterns. Can you start your amigurumi pieces with a magic circle, have you ever tried double knitting, how's your intarsia? If you are feeling brave, make a list of some of the skills which you have not yet tried but would like to have a go at, and perhaps even set yourself a deadline of when you'd like to have tried them by.
As I stated in my day 3 post, my husband keeps me on my toes, and pushes me to learn new techniques. I feel pretty comfortable knitting and crocheting, and I learn new skills pretty quickly. Also, I like to experiment, so I might do things differently from others, just because that's the way I made up how to do something.
However, I definitely am not the best when it comes to finishing techniques. I'm super lazy and hate hand sewing or weaving in ends. Even though my husband has learned intarsia and wrap and turns, I just haven't gotten there yet.
Deadlines for learning new things? Well, my next project is going to involve wrap and turns, and maybe the one after that will involve intarsia?
Subscribe to:
Posts (Atom)