Saturday, June 07, 2014

6/7 - Back from Paris crafts - necklace

I just posted a Petit Pan inspired bag.  They also had some very cute notions, and I decided to make the "pearl" necklace they had in the shop.  It was so easy with their tube fabric trim and fabric beads!  Cut over 2 feet of the fabric trim.  Tie an overhand knot to connect the ends and make a necklace that will fit over your head.  Then, just sew the beads onto the fabric necklace.  So cute!

Friday, June 06, 2014

6/5 - Back from Paris crafts - bag 1

Paris was a huge inspiration!  So many cute shops, including this one called Petit Pan.  I saw a few different bags that I just HAD to make!  I bought some fabric at their arts and crafts stores to make some stuff.  Here's the tutorial for my Paris market bag!  I was able to use a half yard of laminated cotton with cotton piping trim.  The pink material and polka dot piping are from Petit Pan, while the superhero material and yellow trim are from my local fabric store.

1.  First cut out pieces:
2 large rectangles for the front and back, 2 long rectangles for the sides, and two long rectangles for the handles.  These can vary in size depending on the dimensions of your bag, but you can see my measurements from the photo below.
2.  Ready your machine.  You will want to tape your machine and foot with masking tape or scotch tape, as the laminated cotton can stick quite a bit.   
 3.  Sew the short side of your two side pieces together, to make one long piece.
 4.  Change to your zipper foot, and sew the piping onto each side of the side pieces.  Note that the piping is sewn onto the right side of the fabric.
 5.  Now sew the sides to the front and back of the bag, starting from one side, then turning for the bottom, and back up the other side.  Sorry, I don't have a great picture of this, but it should look like this after you've sewn up the sides.
(You can also clip the corners to help with the sewing.)


6.  Tape the edge of the bag about 1 inch down, and sew the hem up.  You don't want to use pins because that will poke holes in your laminated cotton.  
7. Sew the handles.  Fold one side in the width you would like your handle to be, and sew up that side.  Then fold over the other side, to finish the handle.  You could also use tape to help hold this fold down.  
8.  Tape the handles in place, and sew them securely onto the bag by sewing a box with an "x" in it.

9.  Enjoy, you're done!

Thursday, May 15, 2014

5/15 - before we go to Portland and Paris

Some jewelry to add to my outfits when we go to Portland and Paris:

The pink and orange one is based off of this online diy:  http://honestlywtf.com/diy/diy-braided-cuff/
Both bracelets below are based off of Aurelie Bidermann designs.  I made the blue one with a pink macaroon charm, perfect for Paris!  It's not off of any of the diy's I have seen on-line, which use just two strands; I like to use 3 strands like a braid.
Tassels are in, and I got these cool charms at the Bead Faire!
RTW London
I didn't get too many crafting supplies from London, but I did pick up this scarab bead from the British Museum.  I like how this bracelet turned out!  :)
RTW Japan
So I got this pipe cleaner kit from Japan.  I probably should have gotten the book... following black and white instructions in Japanese was a bit difficult... but totally cute in the end right?!?

Sunday, April 20, 2014

4/20 - Stamps and Letterboxing

So I accidentally re-learned all about letterboxing.  We went to a postal convention, and I decided to finally use the stamp carving materials I bought in Japan.  My first attempt was a penguin; I used a sketch I made while we were in Antarctica as a template.  I think I did pretty well!  :)
After making a few more stamps, I decided to start Letterboxing.  It's like geocaching, but instead of using just GPS coordinates, logging into a bock, and trading prizes, you get written directions to the hidden box, use the box's stamp to stamp into your own book, and use your signature stamp to log into the logbook.  It's great!  I even decide to host my own box.  :)

Thursday, March 20, 2014

3/20 - Addicted after Stitches

So, I bought this book at Stitches: http://mochimochiland.com/shop/teeny-tiny-mochimochi/
and obviously, I got addicted...


Buddy and I also made a few coin purses with snaps from Daiso!  Cute right?  :)  The last one I made was the largest, and I made it out of Liberty fabric...SO soft!


Saturday, December 21, 2013

12/21 - Just in time for Christmas festivities

RTW Thailand:
Using the pom poms I got from Thailand (in our RTW trip), I made these two fun pieces!

Wednesday, November 20, 2013

11/19 - Woolbuddy

We took a class over the weekend, learning needle felting from one of the masters, WoolBuddy!  It was super fun.  These are the two animals we made:

Afterwards, I made a few animals, one from a kit I had bought a while ago, and one from the book!
The seal went to Ryan for Christmas  :) !

Monday, October 28, 2013

Cross-stitch

I used to hate cross-stitch as a kid.  I don't know why, but no matter what I did to keep my threads organized, I always seemed to get knotted up!

I haven't tried cross-stitch in a LONG time, but while we were traveling, I saw some really cute kits.  It made for an easy craft activity I could do while on the go!

At our local yarn store this weekend, I picked up some awesome pendants, which you could cross stitch!
Here are the results:

I can't wait to decorate more!  I think I'm going to cross-stitch a fox next...

Friday, October 18, 2013

M&J Trim Project DIY

I signed up for the M&J Trim Project DIY subscription.  Here is the first of the projects I did!
I really love how the necklace turned out!  

Just a note, this was actually the second box in the subscription.  However, it's the first project I actually made :)  You'll see my second project in a few posts!  


Tuesday, October 15, 2013

Paper to Petal

I just received my very own copy of Paper to Petal for my birthday!  Here are the results from our first attempt.
  

Saturday, October 12, 2013

Trip to The Ribbonerie

After my trip to The Ribbonerie in San Francisco, it only made sense to immediately start a project!  Here's my little tutorial on how to make a cute pin from some ribbon scraps.
1.  Get some pretty ribbon scraps, a safety pin, and a lapel pin.  It works best if you use wired ribbon and if you cut them with pinking shears.
2.  Fold the ribbon scraps almost in half over the stationary side of the safety pin, staggering them at different lengths, so you can see a little of each ribbon peek through at the bottom.
3.  Add a cute lapel pin.  This pin will hold all the ribbon together.
4.  Ready to wear!

Monday, October 07, 2013

Map option on http://www.charsstars.com/

A MAP!!!

http://www.charsstars.com/

My husband was nice enough to create a website for me.  There's lots of things that need to be updated, but it looks SUPER cool.  Especially the map option!

For those who have bought an art-o-mat piece from me, I would love to see you added to my map!  Go to the above website, and click on mapbook, then add yourself to the map!
So exciting!

Friday, September 27, 2013

9/27 Blast from the past 3

Remember shrinky dinks?  Those plastic sheets you could draw on, cut out, put into the oven to shrink, and then turn into charms?  Well, here's my fun party necklace made out of shrinky dinks!

Tuesday, September 24, 2013

9/24 Pillow Pouf

I've been wanting one of those round knitted pillow poufs or footrests, but they're so expensive and I felt like it should be easy to make.  So I checked for some patterns on etsy and grabbed my knitting needles.

Knitted Pouf!

Saturday, September 21, 2013

being creative everyday

So I've been thinking about doing something like this for a while now, but haven't gotten around to actually doing it.  However, as my life gets busier, I feel the need to make sure I spend at least 30 minutes a day being creative.  Also, I seem to take lots of photos of things I make, but then never DO anything with it.  So here's to the possibility of making something everyday for the next month or so!  :)

my own version

I ordered the Project DIY subscription from M&J Trimming, but I couldn't wait to do this project.  So I went and got my own materials for this bracelet even before I got my first box.  I think it turned out really cute!


Thursday, September 12, 2013

9/12 Blast from the Past 2

RTW Japan:
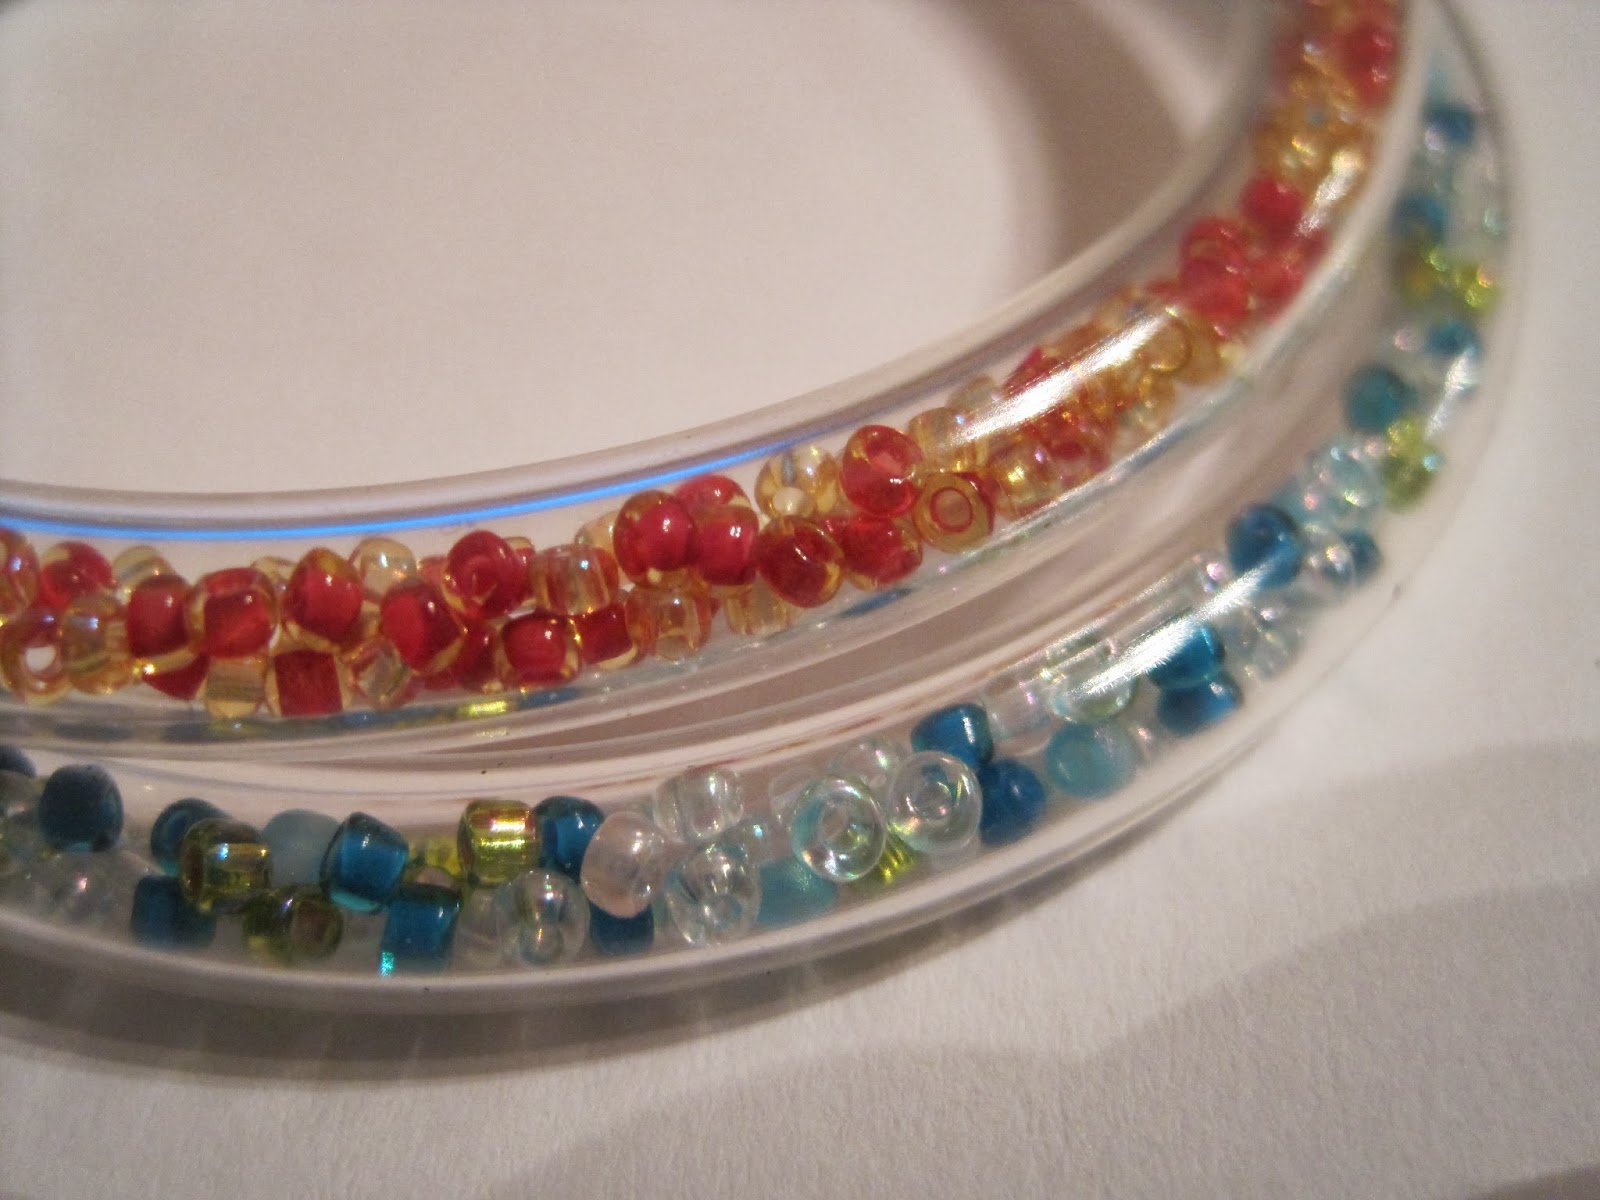
Remember those glitter and water jelly bracelets we used to get as kids.  Well, while we were in Japan I picked up some really cool plastic tubing in some fun colors.  My plan was to make some fun bracelets, and here are the results!  I'm really happy with they way they turned out!  :) 

Wednesday, September 04, 2013

Etsy site

It has been on a long hiatus, but I have reopened my etsy site, and I will be slowly adding new pieces.  Other than my wooden and clay necklaces, I will have lots of other goodies in there!  Come check out my shop at:
http://www.etsy.com/shop/charng

Art-O-Mat!

So I've gotten the news that my art has already been sent off to machines!  I'm so excited!  If you've come to this page because you bought a necklace, please do leave a comment so I know where my necklaces have made a home!